Tiered plans: finding the tier you actually need
Tier tables are built to make the middle option look obvious. Working backwards from the one or two features you truly need is the quickest way to find the cheapest tier that does the job.
ReloadableVCC Team 3 min read
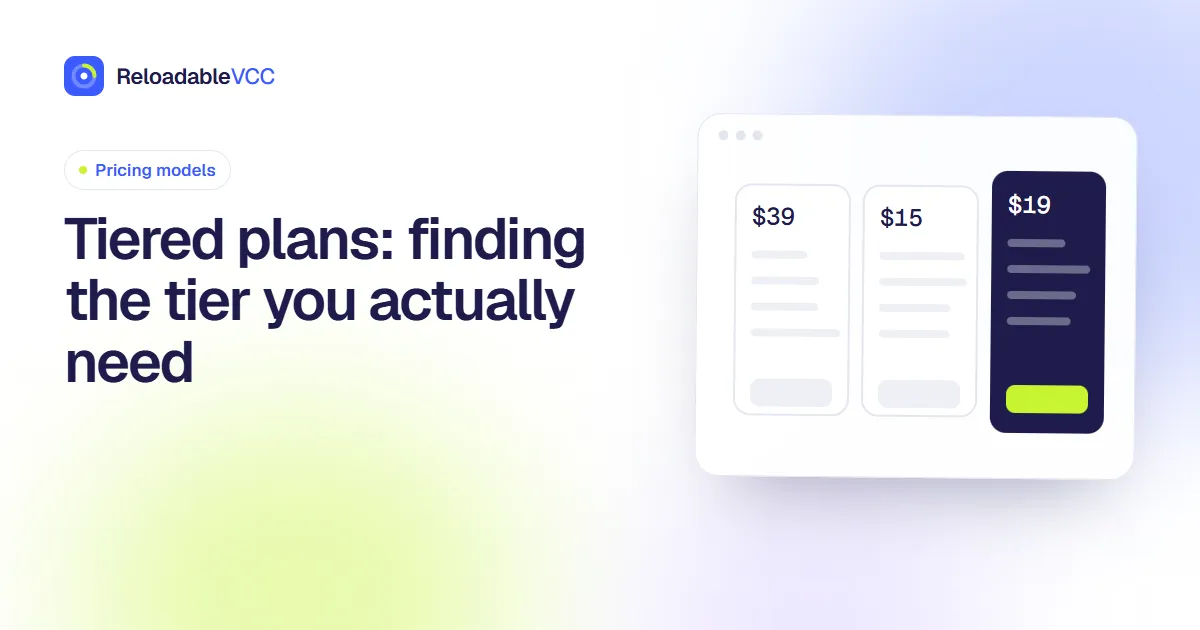
Most software is sold in tiers: a free or basic plan, a middle plan, and one or two higher plans for larger customers. The comparison table under them can run to dozens of rows. Choosing well is less about reading every row and more about finding the one row that matters to you.
How tier tables are designed
Tier tables are not neutral. Common patterns include:
- A highlighted middle tier labelled "most popular" or "recommended".
- A feature you probably need placed just one tier above where you would otherwise land.
- Limits rather than features that differ between tiers: number of projects, storage, users, or how much you can do each month.
- Yearly prices shown by default, with the monthly price smaller or behind a switch.
None of this is dishonest, but it means the table is persuading as much as informing.
Work backwards from your needs
Before looking at the tiers, write down:
- The two or three things you must be able to do. Be concrete: "share files with two clients", not "collaboration".
- Your realistic usage. How many projects, how much storage, how many people, how often.
- One thing that would be nice to have. Just one.
Then go through the table looking only for those items.
Find the deciding row
Usually one row decides the tier. Common deciding rows:
- the number of users or seats;
- a usage limit (projects, storage, sends, minutes);
- an integration with another tool you rely on;
- an admin or security feature, such as single sign-on or audit logs.
Once you know which row it is, the cheapest tier that satisfies it is your candidate. Everything else in higher tiers is optional.
Check the limits, not just the ticks
A tick in a column can hide a limit. "Version history" might mean 7 days on one tier and a year on the next. Hover over the info icons or read the help page for each feature on your list.
Try the lower tier first
If you are not sure, start on the lower tier. Upgrading is usually instant and prorated. Downgrading can be harder, especially on yearly plans, and some services remove data that does not fit the lower tier's limits.
Beware of the gap between tiers
Sometimes the step between two tiers is large while your need is small: you want one feature from the higher tier and nothing else. Ask yourself:
- Is there an add-on that provides just that feature?
- Is there another tool that does it well enough for less?
- Can you work around it?
Our guide to add-ons and bundles looks at the add-on route.
Revisit after three months
Usage changes. After three months, look at the limits you are actually hitting. If you are far below them, you may be on too high a tier. If you keep running into one, it may be time to move up.
Frequently asked questions
Is the "most popular" plan usually the right one?
It is the plan the service wants most people to choose. Sometimes it fits, sometimes it does not. Your deciding row tells you which.
What if I need two features from two different tiers?
Then the higher tier is usually the only option, unless an add-on or a second tool covers one of them more cheaply.
Summary
Write down what you must do and how much you will use, find the one row in the table that decides your tier, check the limits behind each tick, start on the lower tier if in doubt, and review after three months.
- #tiered pricing
- #plans
- #comparison